How To Bake Without An Oven?
Do you love baking goods at home? Are you a professional baker? You must know that finding out your oven is not working can be a big problem, especially when your cake batter is ready.
So, how to bake without an oven? There is no denying that ovens form an integral part of our kitchen, and for many, considering to bake without an oven may be impossible. But, hey, we forget an important fact over here.
Back in time, when technology like an oven did not exist, people still baked bread, cakes, and cookies. How did they do it? And, if they can, we can too!
In today’s blog, I’ll be discussing the three most effective and popular methods of baking without an oven. Let’s dive in!
Traditional Tandoor
Primarily, the Tandoor originated from South, Central, and Western Asia. Although it serves the same function in all cases, it comes in different shapes. At times, you’ll see a tandoor, which is nothing but a wall surrounded by blazing flames upon which the baker sticks the bread dough and waits for it to bake thoroughly.
Other than that, it is metal over or a cylindrical clay pot. In all cases, the convection heat phenomenon comes into use for cooking and baking goods at around 480°C. Although in the present times, it’s not the best approach towards baking, you can still make one at home if you like. Also, goods baked in Tandoor may smell a bit of charcoal or smoke.

Microwave
Perhaps, the most convenient approach in baking without an oven is using a microwave. Almost all of us have a microwave in the present times that we use only to heat the frozen or chilled food. One can even bake whole bread, pizza, cakes, brownies, and all other stuff in it.
But you will have to take care of a few things before experimenting with microwave-baking. Firstly, know your microwave’s type. If it uses a convection heating mechanism, then it works like an oven, and you can use standard baking pans and tins in it. Also, you will not need to use altered recipes or increase baking time. However, the other regular microwaves require the use of microwave-safe baking pans. And also, you may need to increase baking time depending on the recipe. In these, it’s best to go with prepared baking batters.
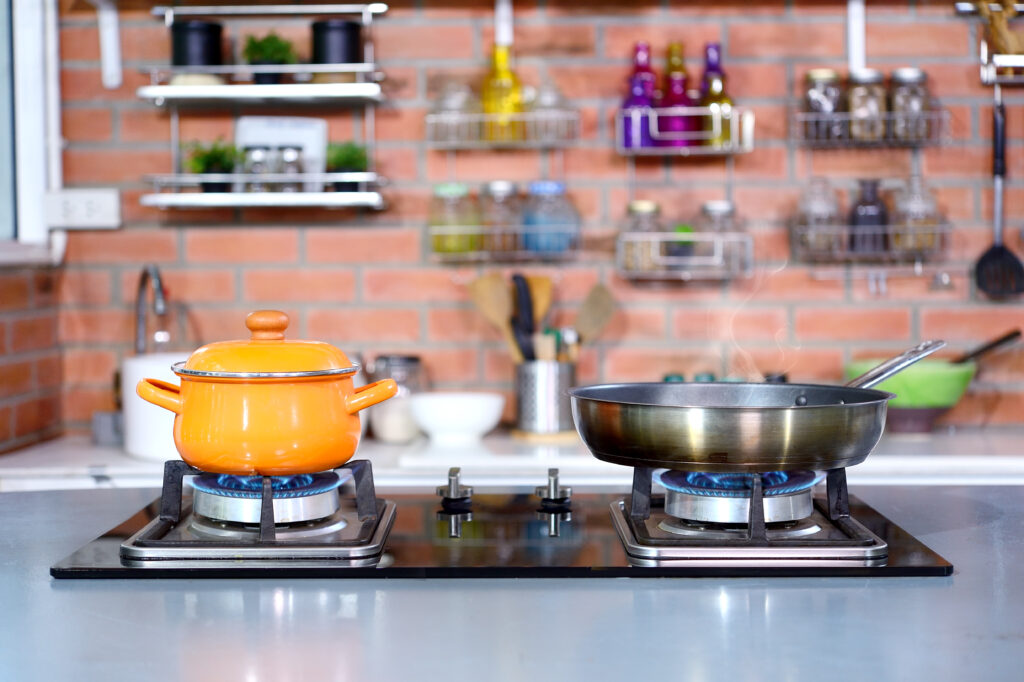
Stove
Using a stove is the most preferable and convenient method of baking as we all have it at our homes. Let’s find out the procedure below!
Know your stove
Technically, a stove is a kitchen appliance that applies direct heat to the cooking or baking process. Several types of stoves get used worldwide:
- Wood stoves
Also called wood-burning stoves, these use wood as a fuel to provide heat. Usually, people living in colder climatic regions use wood stoves.
- Gas stoves
As the name suggests, the gas stoves utilize combustible gas to supply heat for the cooking process. These gases may include natural gas, propane, syngas, and butane. Unlike wood stoves, these require less cleaning.
- Electric stoves
These stoves have an integrated electrical heating system. It provides heat efficiently and quickly. Electric stoves are the most expensive and difficult to maintain.
How to bake on a stove?
You can bake goods on all types of stoves. However, the method of baking on the stove is slightly inconvenient than baking on an oven. Here are the things you will require:
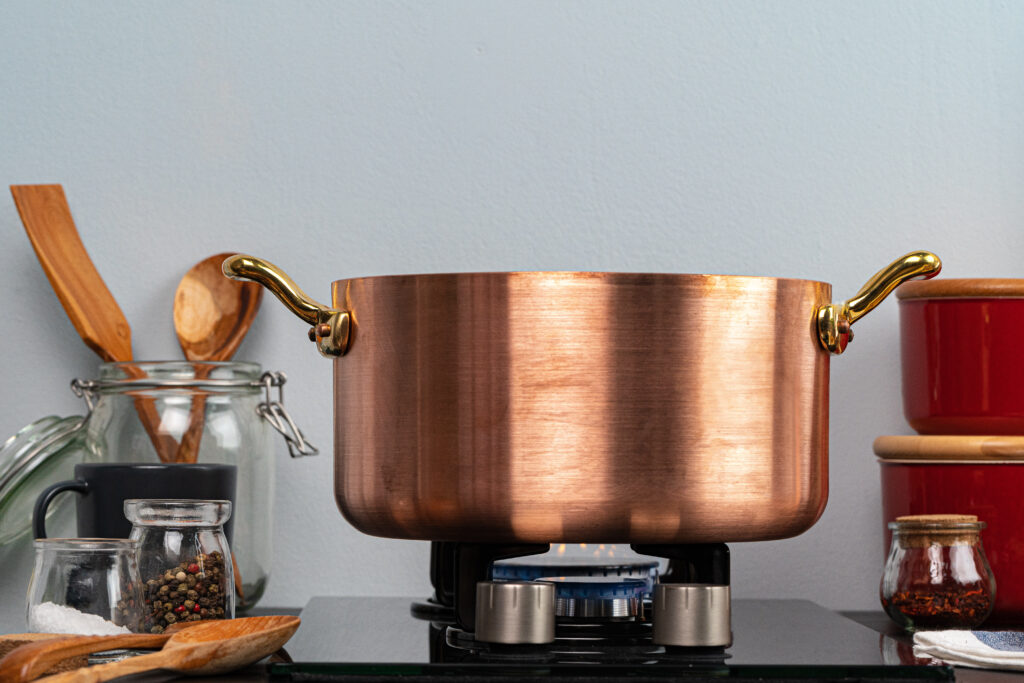
- A large pot or a deep pan
- A wire rack or aluminum foil
- 1-packet of salt (optional)
Now, baking on the stove has a few stages regarding which you must be careful. Below, I have divided these stages accordingly. Follow these steps and tips to bake on a stove:
STAGE (I) Prepare
It would be best if you prepared your stove oven before making the batter of the intended baked good. Firstly, place the pot on the stove and ensure that the baking pan fits in the pot. Do not use a pot with a mismatched lid; all the heat will keep on escaping.
Then, place the wire rack in it. If you do not have the wire rack, roll a piece of aluminum foil and make a spiral. It should be at least an inch high. Now, while baking on a stove, the pits usually turn brown due to excessive heating. To prevent, cover the base of the pot with salt before putting a wire rack.
Once done, cover the pot with the lid and turn on the heat supply. Now, preheat the pot for around 10-15 minutes on low heat.
STAGE (II) Bake
Now, prepare the batter and transfer it into a pan. For best results, always grease the pan base and apply parchment paper. Then, please place it in the heated pot. Ensure no heat is escaping the pot.
Follow the recipe for the baking time. If you are using a recipe that requires an oven, then reduce its baking time by 5-minutes. For gas stoves, keep the flame between low to medium.
STAGE (III) Clean afterward!
After baking, let the pot cool completely. Then, wash to remove any spilled batter.
Leave your comment
You must be logged in to post a comment.